


 6:35 PM
 zemzero

Been trying to think of a new layout and template, something mainly to do with scale modeling maybe. It might take awhile though.
The other day I started a new model, a 1/16th Greek Hoplite from miniart.
 I hope I can do it justice as it will be my first figure of this size. I can already see that it will take a lot of putty, scraping and sanding.
I do have a couple of finished WWII models, that are worthy of showing off, I might add, that I'll try to take some pictures of. I just finished a diorama of an M-18 hellcat that I'll be posting WIP pictures.
On to the dragon:
Black primer, ran out so I wasn't able to get everything but no biggie. You'll notice a divet in the first picture at the end of the horn. That area gets taken care of later.
I added some scratches to the end of the horns (not sure if it comes out in the pictures), the idea being (s)he rubs them against cliffs and stuff to keep them sharp or clean...you know...hygiene and stuff. I also scratched up the one eye, you can clearly see in the first picture. Gives it some character I think.


I don't actually have too many in depth work in progress shots, so some steps might be pretty short. I'll just fill the post out with more pictures than is needed in that case!
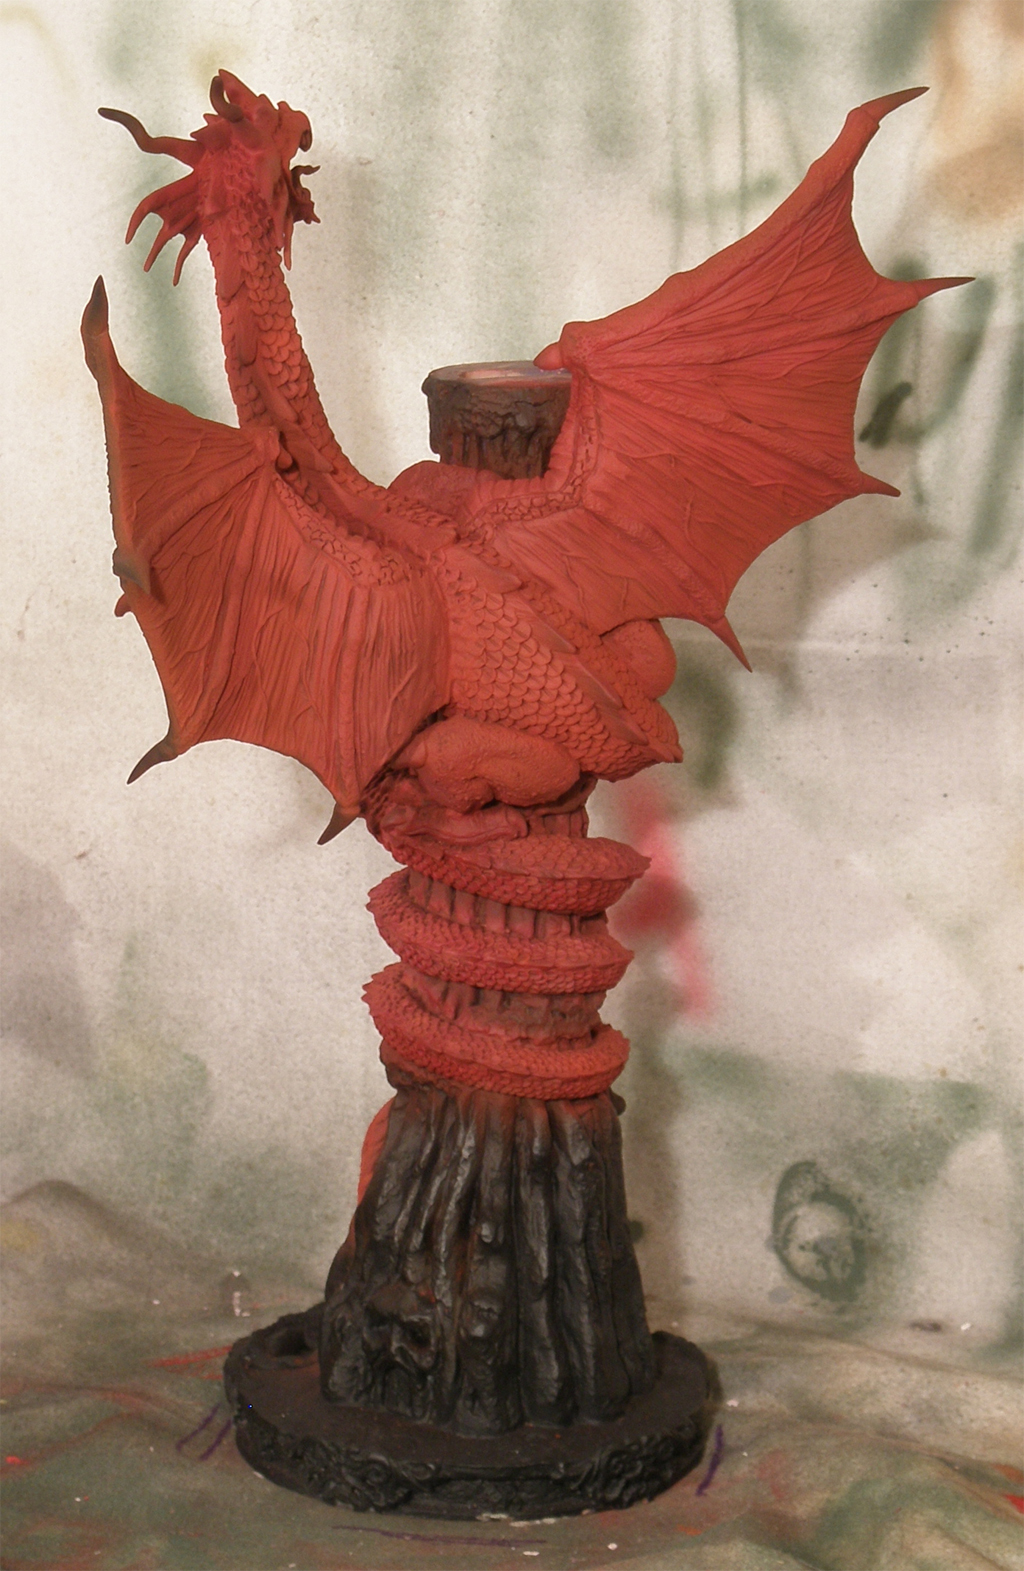
The red base coat was laid down with an airbrush:


 Not sure what colors would work for the spire, I took a different approach. When I tried envisioning the finished statue I always saw the spire covered in snow. So...the mountain turned to snow.
And many many coats of white were needed. Not sure what I was thinking, white over black I ended up using oils for the majority of the snow, the brush strokes and paint buildup adding to the...atmosphere, or ambiance. Or some other big word that...might not fit...

 Next time I'll show you how I painted (and repainted) the jewels on top, how I added a blue hue to the spire and how I fancied the dragon up with gold.
Thank for looking, hope It's not too boring.
The other day I started a new model, a 1/16th Greek Hoplite from miniart.
I do have a couple of finished WWII models, that are worthy of showing off, I might add, that I'll try to take some pictures of. I just finished a diorama of an M-18 hellcat that I'll be posting WIP pictures.
On to the dragon:
Black primer, ran out so I wasn't able to get everything but no biggie. You'll notice a divet in the first picture at the end of the horn. That area gets taken care of later.
I added some scratches to the end of the horns (not sure if it comes out in the pictures), the idea being (s)he rubs them against cliffs and stuff to keep them sharp or clean...you know...hygiene and stuff. I also scratched up the one eye, you can clearly see in the first picture. Gives it some character I think.


I don't actually have too many in depth work in progress shots, so some steps might be pretty short. I'll just fill the post out with more pictures than is needed in that case!
The red base coat was laid down with an airbrush:


And many many coats of white were needed. Not sure what I was thinking, white over black I ended up using oils for the majority of the snow, the brush strokes and paint buildup adding to the...atmosphere, or ambiance. Or some other big word that...might not fit...


Thank for looking, hope It's not too boring.


