Sunday, June 26, 2011

M-18 Hellcat Pt. 2

 Well it's been a long week. I had to go over my uncles to fix a hole in his garage roof and fix his garage door. There was a huge oak tree in his neighbors yard and one the of the branches fell through the roof causing a hole the size of a softball, I guess it knocked part of the door off it's frame too.

 On top of that we've been painting our living room and dining room and it looks like the the kitchen's next on the list, not exactly the kind of painting I want to do.

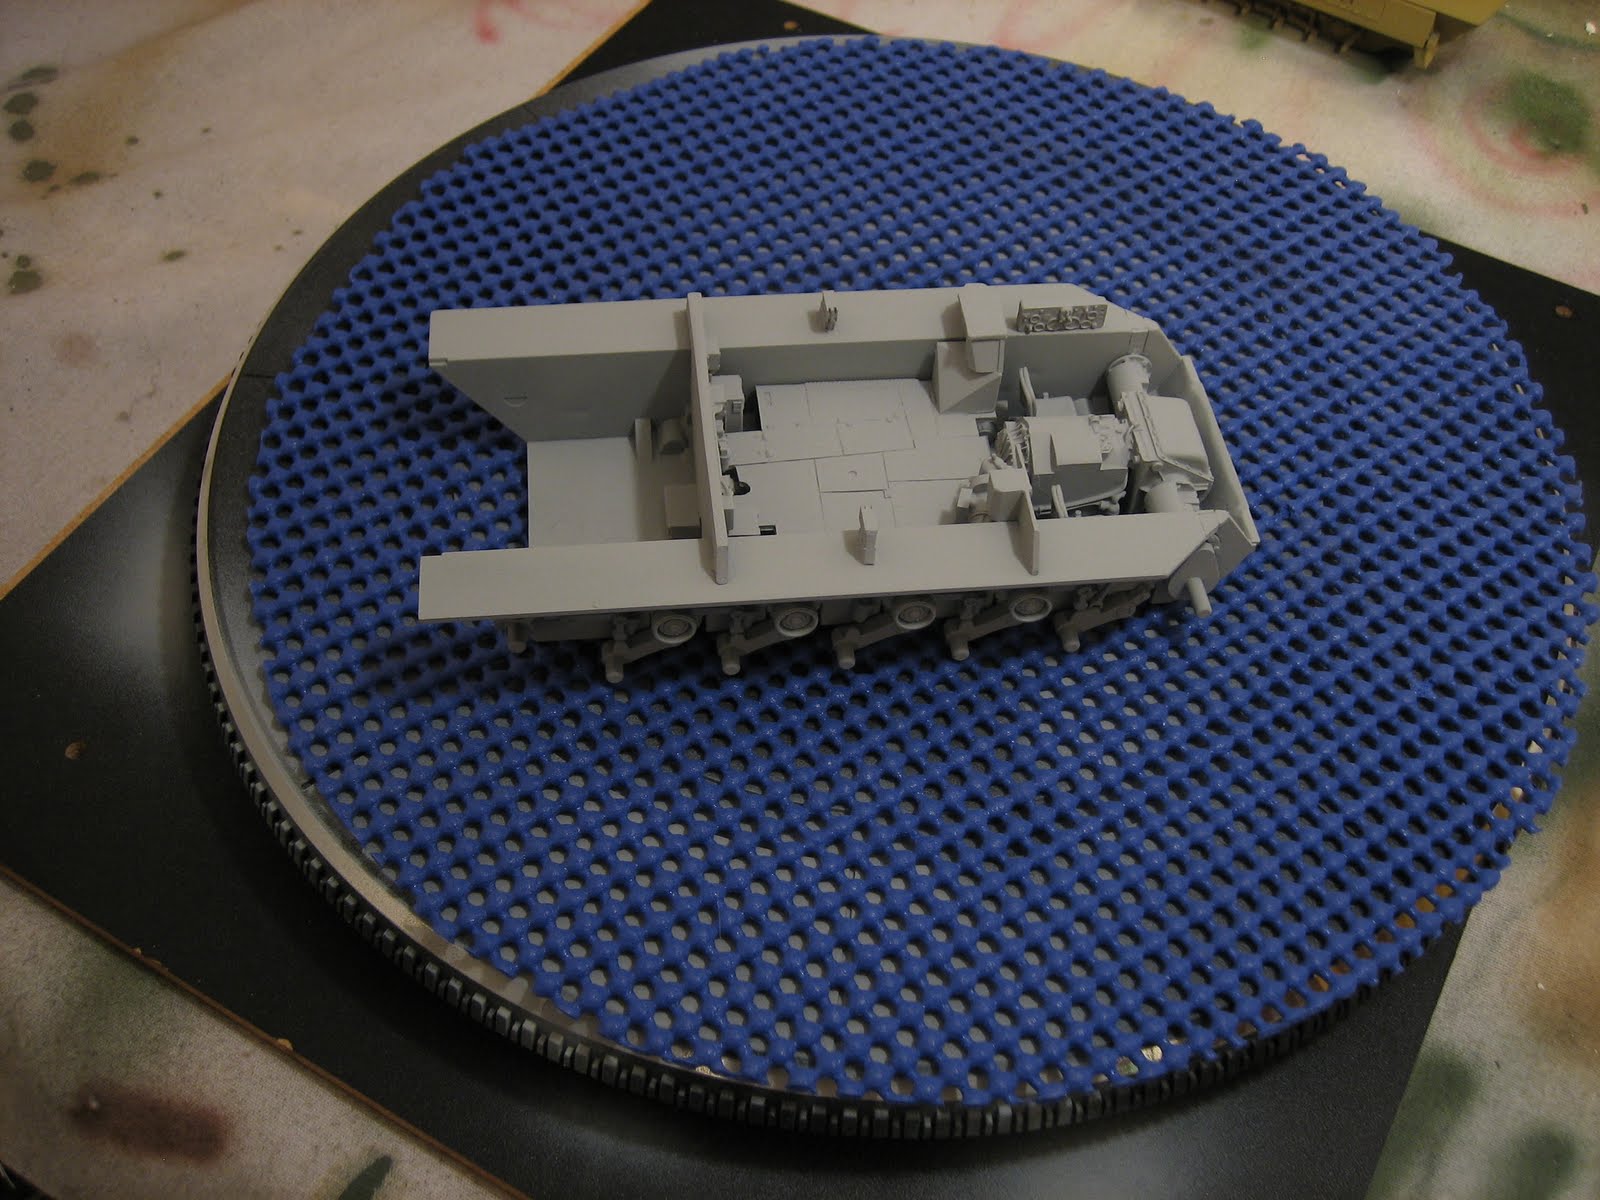
 Anyways, I outlined the seams and edges on the tank with my airbrush. This could create a subtle shadow effect, if I don't over do the weathering on it. Laid down a base coat of an olive drab color and picked out details that stick out with a slightly lighter shade of the base coat


 Here's what the base looks like for now. I have a grass mat to add and I'll be making two trees for it.

Tuesday, June 21, 2011

M-18 Hellcat pt 1

 It's not unusual for me to have multiple projects going on at once, it's the modelers addiction. Hell, I have close to 20 kits in my closet that I haven't even touched since I bought them. But what am I supposed to do when I'm waiting for stuff to dry? Go outside? Ahaha, good one! You can rot in hell,outside!

  Well, ahem...Here's an American tank destroyer I started awhile ago, an M-18 Hellcat. It's going to be in a small diorama scene, something like a field with trees and a wall or something. It's 1:35 scale, meaning if you take the original tank and shrink it down 35 times, you get this size. Which is about five or six inches long from the front to the back, not including the barrel. Figures in this scale are typically two inches tall. Vastly shorter than the Greek.


 What you're looking at here is basically the chassis and the inside of the tank. The drivers seats, the floor under the turret and all the instruments.


 This is the entire tank primed and partially built, test fitting the crew, some modifications will need to be made to get all three people in the turret comfortably. That's right, three of those small guys are gonna be crammed in there!


  I've started the wall and laid out the base, more pictures soon.

Friday, June 17, 2011

Greek Hoplite pt 3

 Well it's been a slow week but I managed to get a few small things done to the Greek.

 I made one of the leather strips, it was looking good but then I realized I can just twist and turn the originals to fit, so I didn't even need to make my own.


  Made some progress on the helmet and plume. I had to take off the ridge that the plume sat on, as it extended past the plume itself. You can see the mark where I intended to cut it off at. Added the pony tail, need to fill in that huge gap and add texture to the top of the entire thing.


 The leather strips on the skirt are a little wobbly, but heat from a hairdryer will fix it, it makes the plastic more pliable.


Large picture (2592x1944)

 As of right now I would have to guess it took roughly ten hours to get it to this point. There's a lot of small things that need to be done, such as scraping any excess plastic off the pieces, getting corners to look properly rounded or squared. Lining edges up, adding putty and then sanding. For instance, I don't have a picture up yet, but a couple days ago I spent nearly an hour and a half just trying to make the leather strips look more defined. If you enlarge the picture of the skirt above you'll see plastic in between the strips of leather, making it look like one large piece instead of individual pieces. I took all that out and tried to sharpen the edges. It's tedious work but when it's painted it adds more than you would think. To me it's the difference between a slightly blurry picture and a crisp one, you might not notice the subtle blurriness, but you notice the sharpness.

Monday, June 13, 2011

Greek Hoplite Pt2

Wow, didn't realize it's been so long since my last post, sooooory, been a bad blogger! Too busy reading all your guyseses blogs.

 As I said before, there are some huge gaps in the legs and arms that would need to be filled in:


 Took all my time just to fill and sand these and I still might need to go back and do more, but here is what everything looks like now:


  While there is supposed to be a small seam on each side of the breast plate, since they were actually two pieces that the soldier tied and clamped over his torso, the gaps were to gnarled to leave as they were.


  I left the gap in the back of the greaves, these things sort of snapped on so there was a natural gap there. Will also have to to something about the toes.


 Having a hard time with the skirt and the leather strips that hang over it. They don't fit around tightly, there is a gap that I will have to fill by creating two more leather strips.


 And this is how tall it is, it's not glued or anything, just a dry fit.

Wednesday, June 8, 2011

Small update on the Hoplite


 For anyone wondering, this is what a model looks like when it comes out of the box:


 Anyways, just a small update on the Greek Hoplite I started. There are huge seams and gaps on the arms and legs that will need to be filled with putty and sanded down, so that's gonna take all of my time next time I work on it.


                                      Who needs swords when you've got THOSE things?

Monday, June 6, 2011

M21 mortar halftrack

 Here's a 1/35th scale American halftrack I built a year ago. It actually sat on my shelf because I lost the mortar. A couple months later I bought a different kit that included an extra mortar, so I was able to use it in this kit and finish it up.


Design by Free WordPress Themes | Bloggerized by Lasantha - Premium Blogger Themes | Powerade Coupons