Showing posts with label wwii. Show all posts

Tuesday, July 19, 2011

M-18 Hellcat Pt 4 - Diorama

Whooo, it's been rough trying to find time to do anything. I did a little (tiny, tiny) bit on the Greek hoplite but don't have the pictures uploaded, I might get around to it tomorrow.

 I built the second tree and as I assumed, two trees on the base is too crowded. I'll have to settle for the best looking tree.


 Since I cut two holes in the grass mat, I wanted to fill it with something. So I put a tree trunk in it's place.  I also prepped the mat some more, needed to flatten the area the wall will go. Looks messy now, but I'm thinking of adding wild flowers or something like that.


 Aaaaaand, here's the wall. It looked better wet. I think it's too grey and doesn't match the rest, will be repainting it.


 I'm starting to think the wall is too big too, I'll probably be cutting it in half when I repaint it.

Wednesday, July 6, 2011

M-18 Hellcat Pt 3

 Been awhile since last post, been kind of busy. I managed to get the stone wall built up and the two tree's put together. The base seems too crowded so I might end up using just one tree.

 Here's the grass mat, with holes cut for the trees. It's really bare and flat so I need to add more growth and foliage. I used a big ole' cheap paintbrush and cut the bristles off to use as extra grass. It was a mistake to use this particular paintbrush, the bristles are cheap synthetic plastic and black. Made is hard to paint, real hard.


  The wall is made from cork board that I broke apart to the right size with my fingers. Gives it that rough stone look. I built the tree frame from wire, then added some plaster to build it up. On top of that I added some tile grout to the mix and ran a toothbrush over it to create a bark like texture. Dried flowers and herbs were used to create leaves.


 Painted the leaves with an airbrush, greens and yellows and all that.

Sunday, June 26, 2011

M-18 Hellcat Pt. 2

 Well it's been a long week. I had to go over my uncles to fix a hole in his garage roof and fix his garage door. There was a huge oak tree in his neighbors yard and one the of the branches fell through the roof causing a hole the size of a softball, I guess it knocked part of the door off it's frame too.

 On top of that we've been painting our living room and dining room and it looks like the the kitchen's next on the list, not exactly the kind of painting I want to do.

 Anyways, I outlined the seams and edges on the tank with my airbrush. This could create a subtle shadow effect, if I don't over do the weathering on it. Laid down a base coat of an olive drab color and picked out details that stick out with a slightly lighter shade of the base coat


 Here's what the base looks like for now. I have a grass mat to add and I'll be making two trees for it.

Tuesday, June 21, 2011

M-18 Hellcat pt 1

 It's not unusual for me to have multiple projects going on at once, it's the modelers addiction. Hell, I have close to 20 kits in my closet that I haven't even touched since I bought them. But what am I supposed to do when I'm waiting for stuff to dry? Go outside? Ahaha, good one! You can rot in hell,outside!

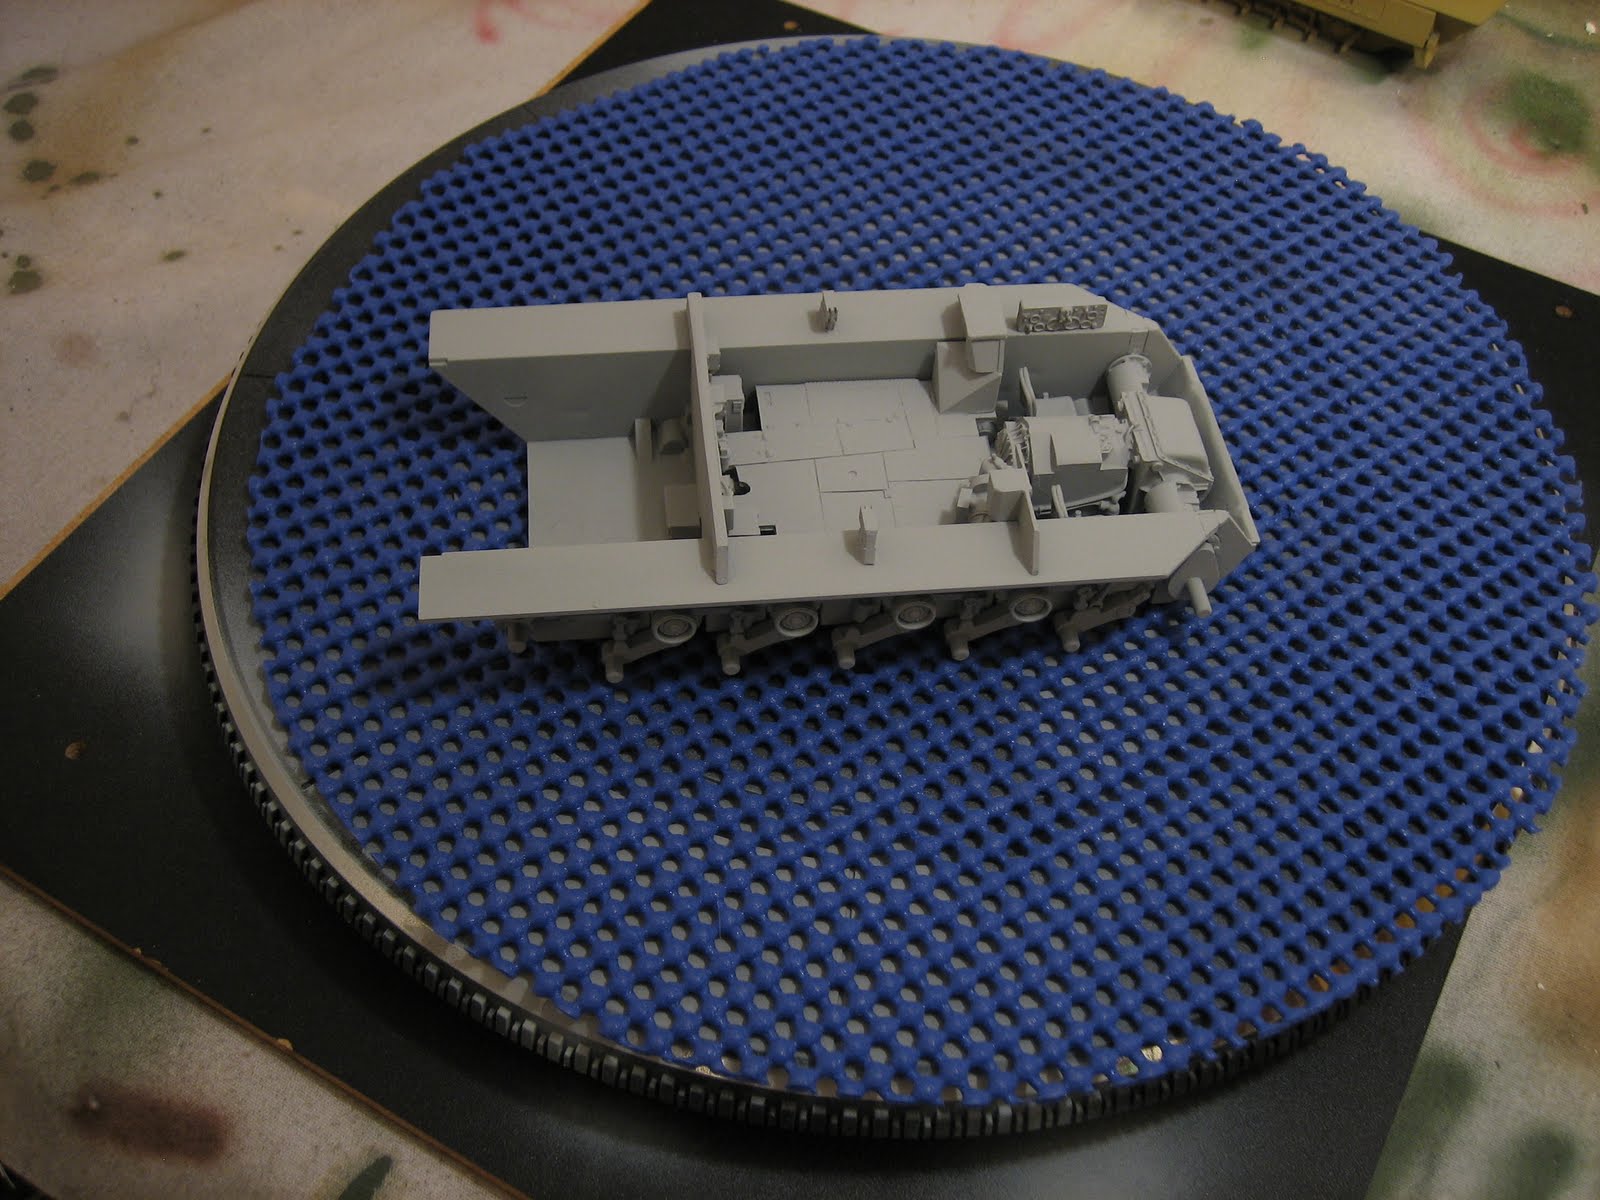
  Well, ahem...Here's an American tank destroyer I started awhile ago, an M-18 Hellcat. It's going to be in a small diorama scene, something like a field with trees and a wall or something. It's 1:35 scale, meaning if you take the original tank and shrink it down 35 times, you get this size. Which is about five or six inches long from the front to the back, not including the barrel. Figures in this scale are typically two inches tall. Vastly shorter than the Greek.


 What you're looking at here is basically the chassis and the inside of the tank. The drivers seats, the floor under the turret and all the instruments.


 This is the entire tank primed and partially built, test fitting the crew, some modifications will need to be made to get all three people in the turret comfortably. That's right, three of those small guys are gonna be crammed in there!


  I've started the wall and laid out the base, more pictures soon.

Monday, June 6, 2011

M21 mortar halftrack

 Here's a 1/35th scale American halftrack I built a year ago. It actually sat on my shelf because I lost the mortar. A couple months later I bought a different kit that included an extra mortar, so I was able to use it in this kit and finish it up.


Design by Free WordPress Themes | Bloggerized by Lasantha - Premium Blogger Themes | Powerade Coupons